
Preparing QuPath Exports for OMERO Upload
Step-by-step guide for exporting a selected region from a virtual microscopy slide as an OME-TIFF file for import into OMERO.
Prerequisites
This guide will require you to install QuPath on your computer (https://qupath.github.io/). QuPath is a cross-platform, user-friendly open source software for digital pathology and whole slide image analysis, written using JavaFX. It can run on Windows, macOS and Linux. The software also requires Java to work. The current version at the time of writing is 0.7.0, and the QuPath website also provides installation instructions and prerequisite guidance, including Java requirements.
After installation, you will need access to the share that contains the original MVLS archive slides. That access is restricted and read-only to safeguard the original files. You will need to request that access. Access requests for the files are handled through the share request page.
With access granted to the MVLS archive slides, you need to mount the share on your computer. This may require administrative rights if you are in a University of Glasgow SSD, but you can get help from the University’s HelpDesk for that. Instructions on how and where you should mount your share are provided in the relevant support guidance.
Ensure the MVLS Virtual Microscopy Archive share is mounted and accessible from your workstation.
Step 1 – Locate the Slide in the Catalog
Open the MVLS Virtual Microscopy Catalog, locate the required slide, and note the archive folder, filename and share path. QuPath may require manual navigation through the folder structure.
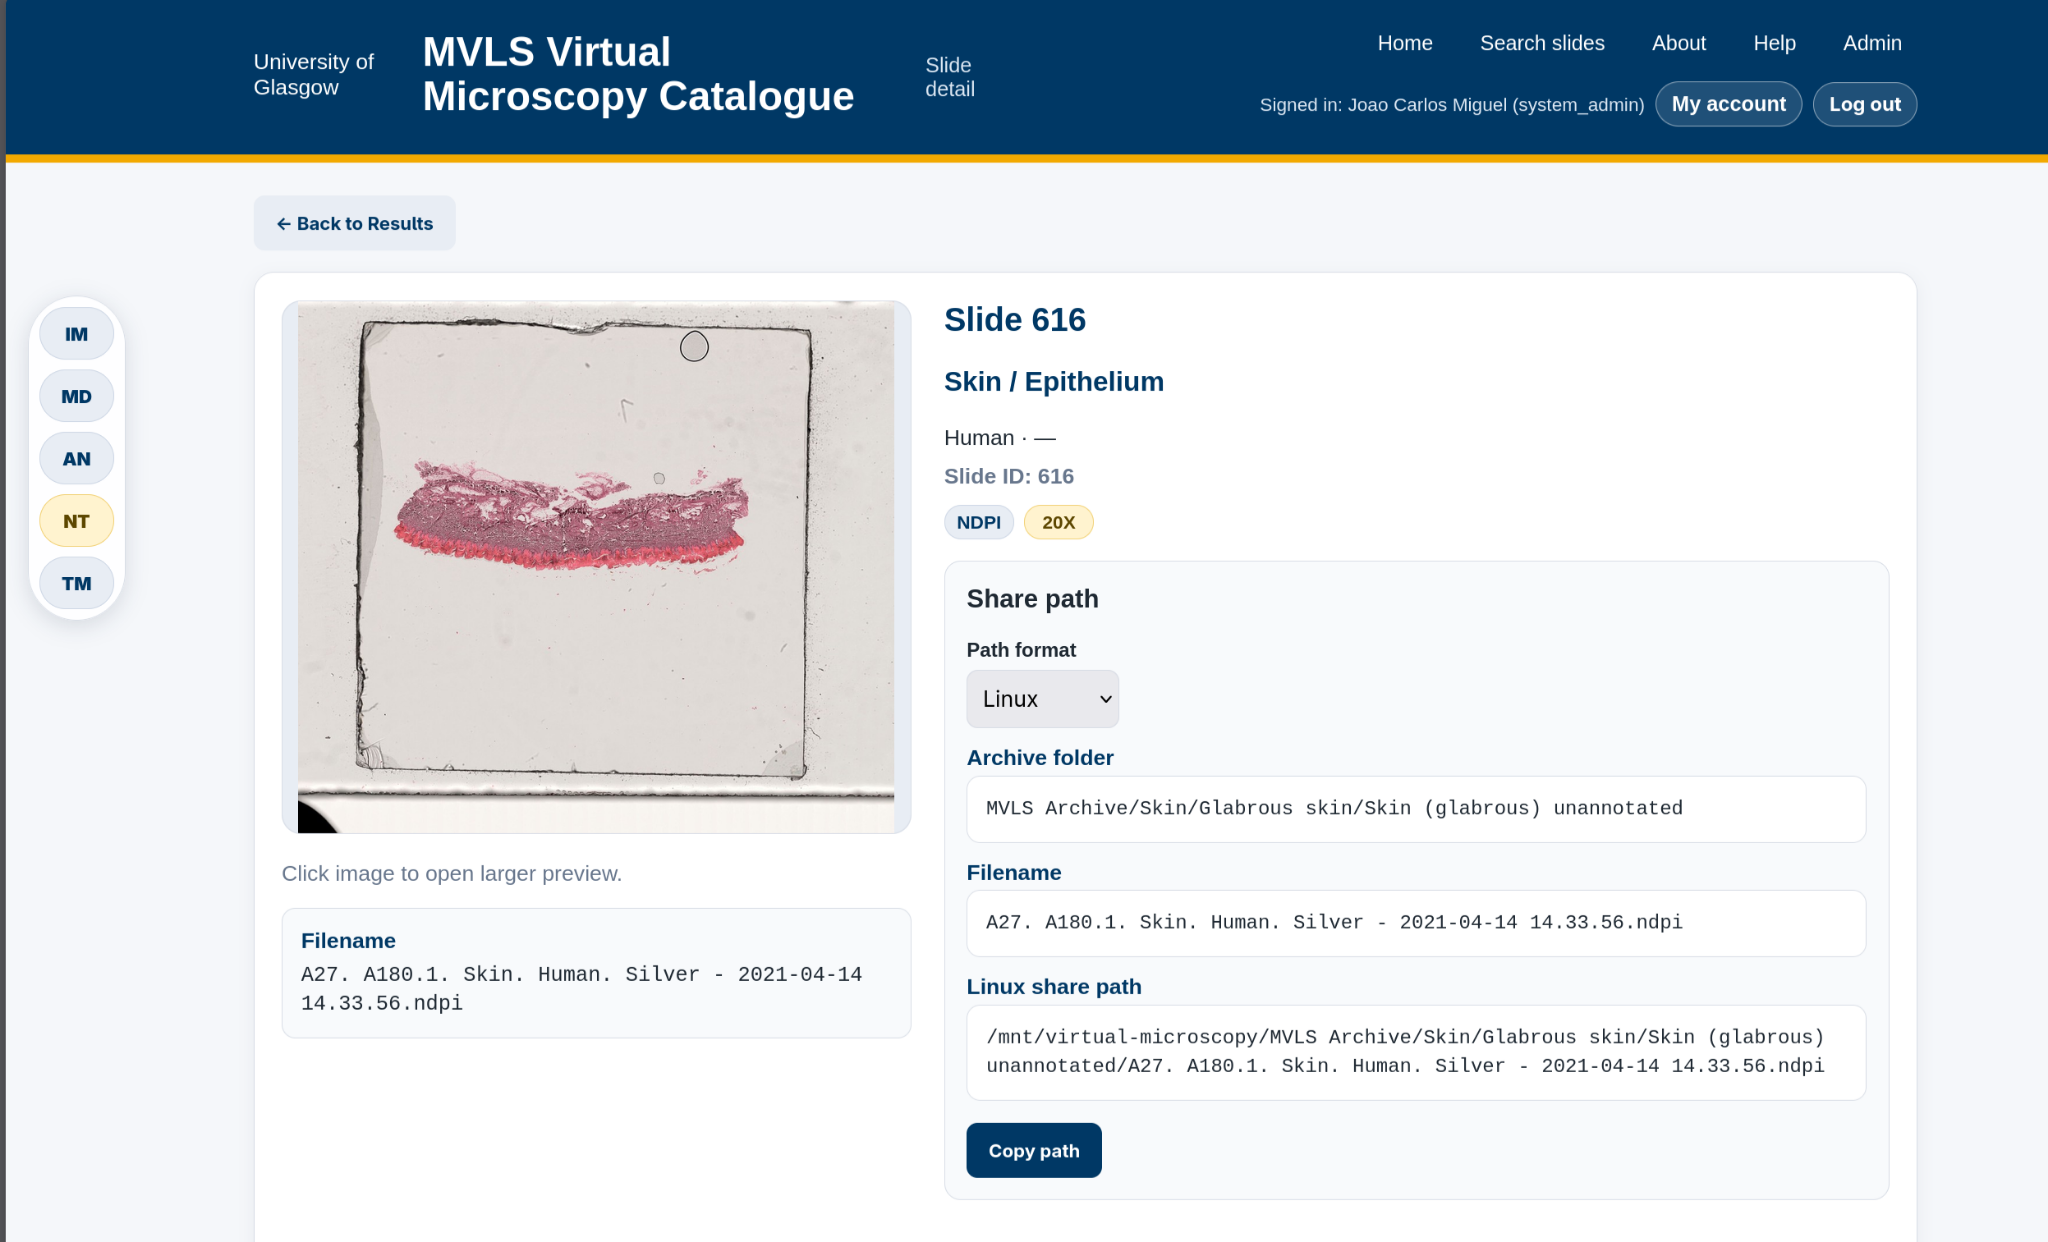
Step 2 – Open the Slide in QuPath
Launch QuPath, select File > Open, navigate to the archive location and select the slide file identified in the catalog.
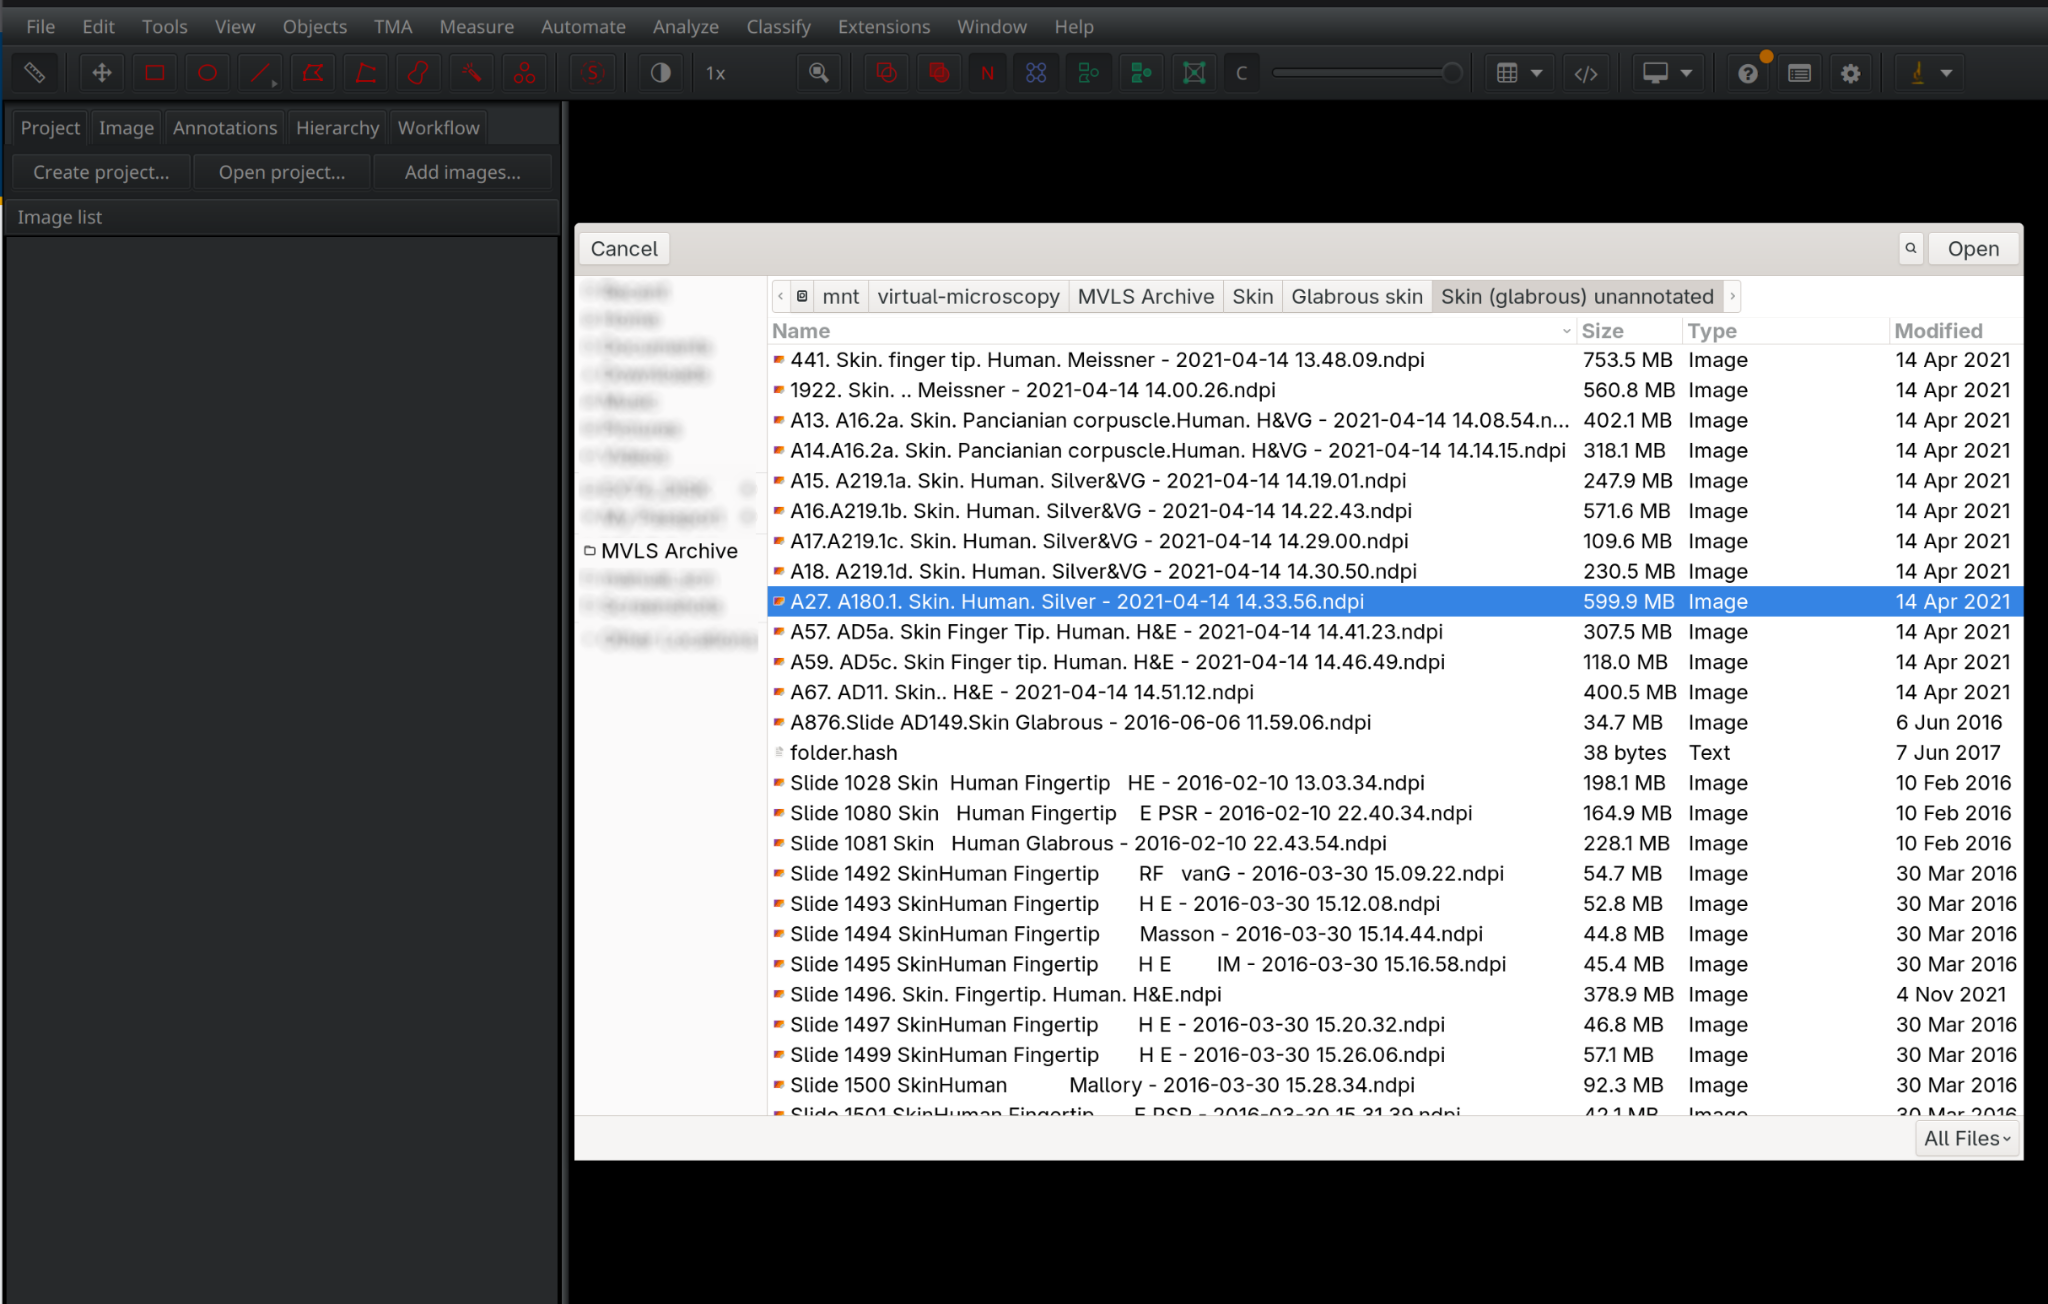
Step 3 – Select the Closed Polygon Annotation Tool
Choose the Create Closed Polygon Annotation tool from the QuPath toolbar in the top-left portion. The icon looks like this: 

Step 4 – Annotate the Region of Interest
Click around the specimen to create a polygon annotation. Include all required tissue while excluding unwanted artefacts, debris and excess background.
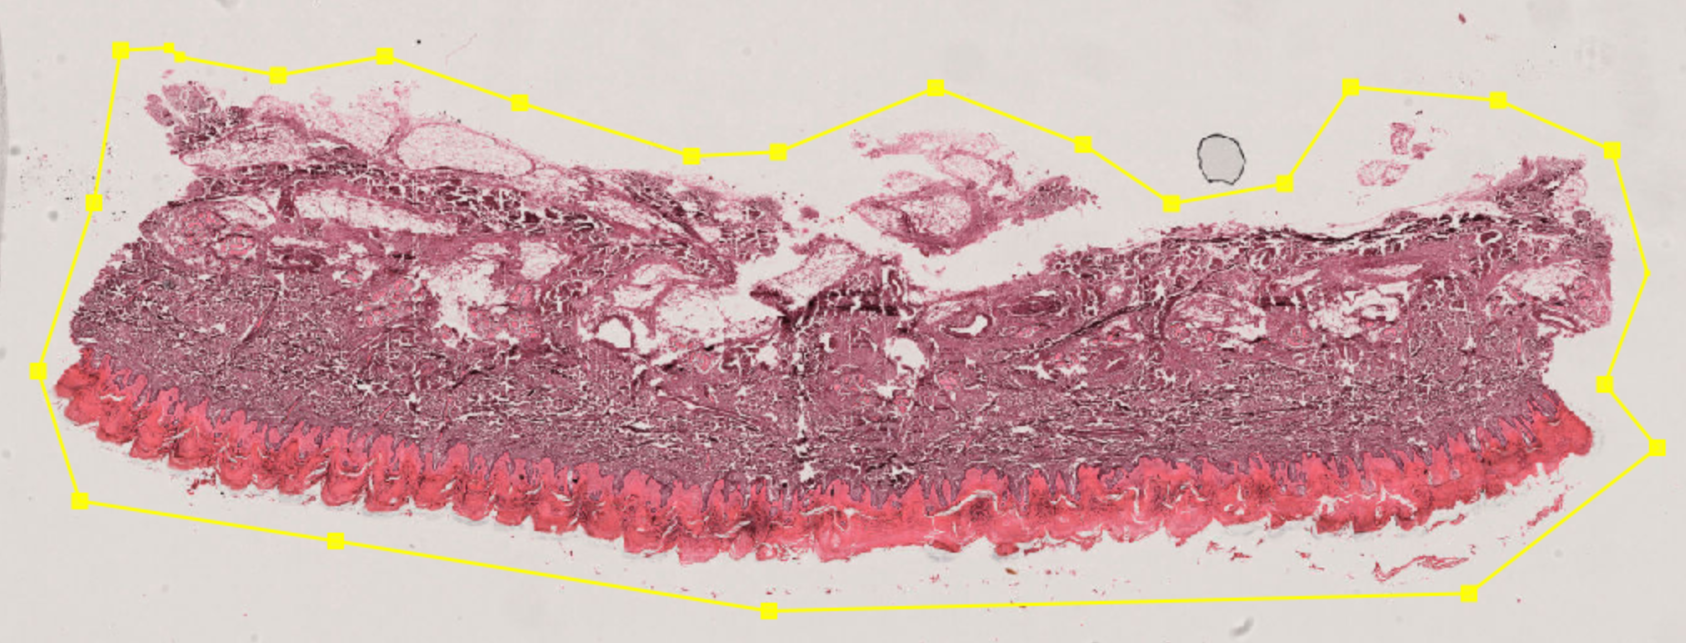
Step 5 – Reconcile Existing Annotations (If Any)
Check the slide's detail page in the catalogue for a "Slide annotations" section. If it has one, its annotations must be recreated on the original image and translated into the crop's coordinates before exporting, or they will not line up with the cropped file. If the slide has no annotations, skip straight to Step 6.
Full instructions: Applying a slide's annotations in QuPath (opens in a new tab).
With the region of interest annotated, continue to Export as OME-TIFF.